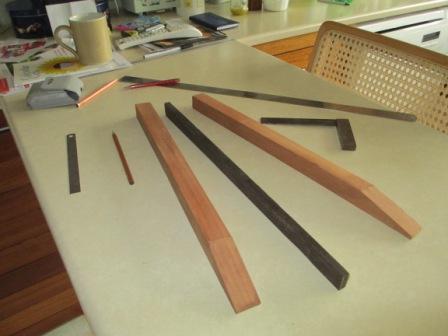
STEP 1:
Wood for the neck Offcuts from earlier projects - two pieces of mahogany and a fillet of ebony. |
|
 |
| |
STEP 2:
Laminating the neck This construction should be strong enough not to need a metal truss rod. |
|
 |
| |
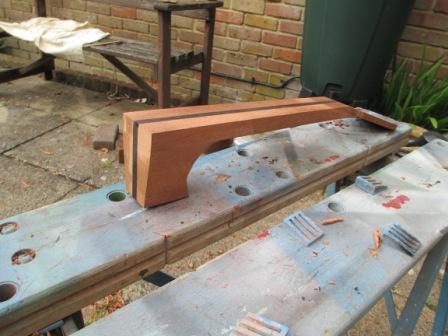
STEP 3:
The neck Partly finished, with more mahogany blocks making the heel and the head spliced on. |
|
 |
| |
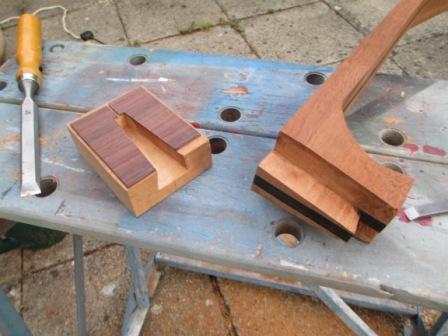
STEP 4:
The dovetail A tapered dovetail will slide to a tight fit and enable an elegant narrow heel. |
|
 |
| |
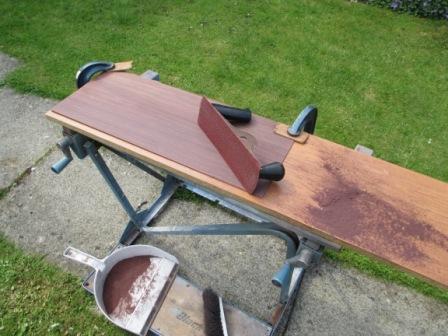
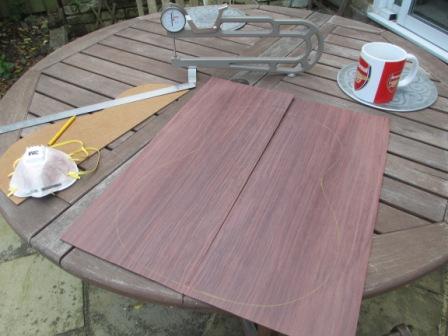
STEP 5:
Rosewood for the back The wood has to be "thicknessed" down from about 5mm to 2 - 2.5. The wavy grain makes planing difficult, so sanding is the answer, but even the belt sander struggled with this hard wood. I made this hand sander by fixing a coarse abrasive to the sole of an old plane. Still a long job. |
|
 |
| |
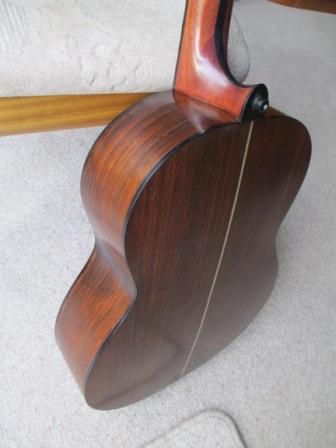
STEP 6:
The back The two halves are "book matched" slices which will be joined edge to edge. |
|
 |
| |
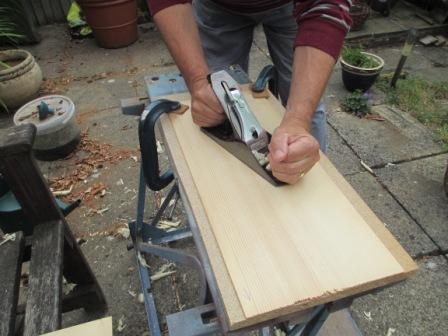
STEP 7:
The front or soundboard This wood can be thicknessed by planing. First step is to plane a best face which will be the outside. |
|
 |
| |
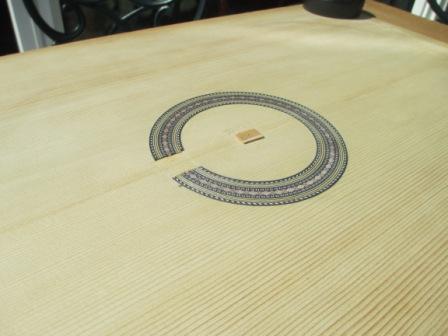
STEP 8:
The rosette Inlaid into a channel cut into the face. When planed off flat the wood will be planed down to final thickness from the back. It will be only 2 - 2.5 mm thick. |
|
 |
| |
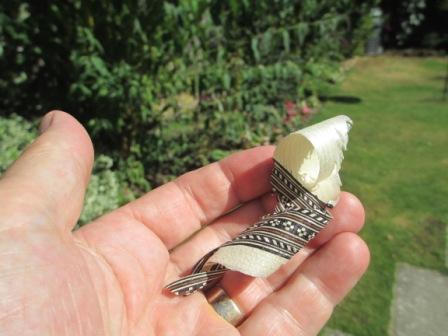
STEP 9:
Levelling off the rosette A sharp plane will take a fine shaving off both the soundboard and the inlay. |
|
 |
| |
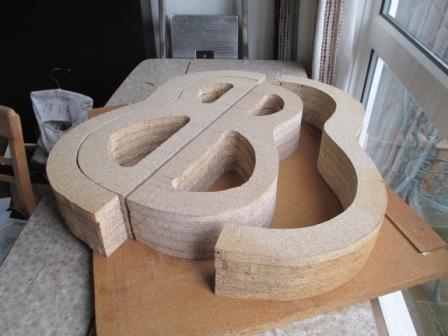
STEP 10:
The mould A lot of work was put into getting this accurate and smooth, as it will shape the guitar. |
|
 |
| |
STEP 11:
Bending the ribs The ribs or sides have been planed down to 1.6mm approx and are bent on a very hot iron. Water applied with a rag to resist scorching. A long delicate business. |
|
 |
| |
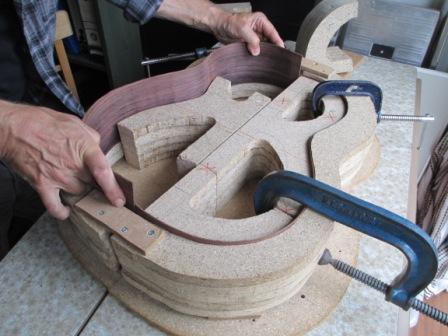
STEP 12:
Putting the second side into the mould It will dry out over 24 - 48 hours and stay in shape. |
|
 |
| |
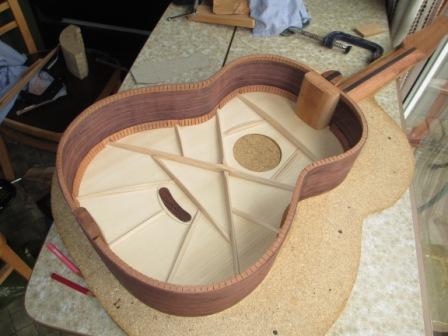
STEP 13:
The heart of the guitar The neck is just test fitted at this stage. |
|
 |
| |
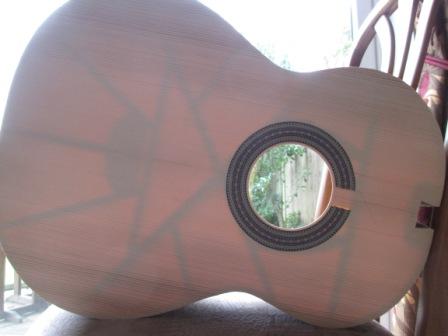
STEP 14:
The soundboard is quite thin As shown by this photo with the light behind. |
|
 |
| |
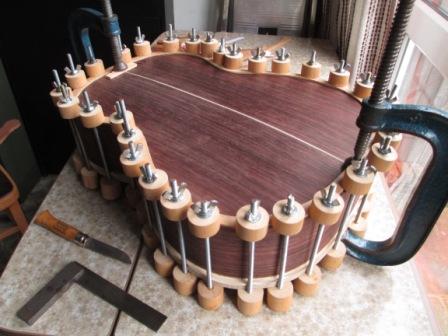
STEP 15:
Glueing the back on Now out of the mould, clamped with luthier's clamps made from threaded rod and drilled dowel. |
|
 |
| |
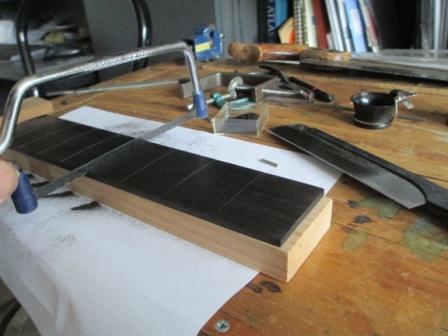
STEP 16:
The fingerboard Cutting the fret slots. Doing this before the board is tapered makes it easier to get the cuts square. |
|
 |
| |
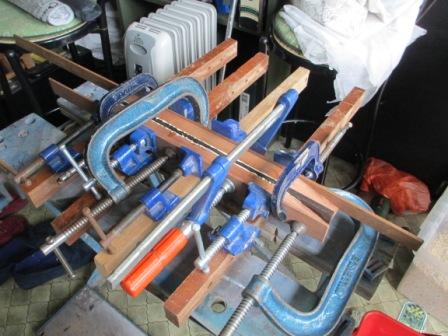
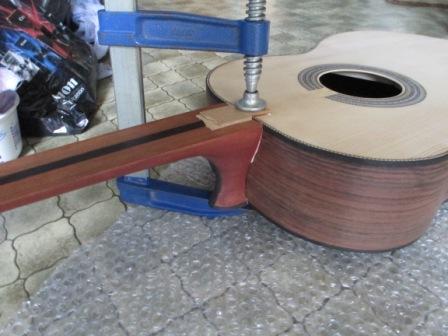
STEP 17:
Glueing the neck The tapered dovetail pulls itself together under pressure from only one clamp. |
|
 |
| |
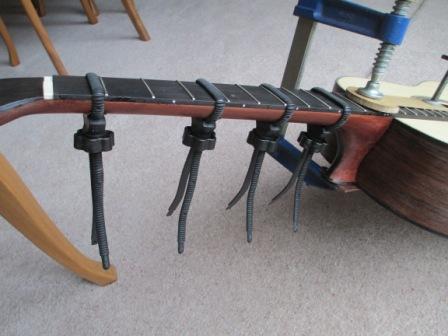
STEP 18:
Fixing the fingerboard These strap - clamps are very useful for this and other awkward shaped jobs. |
|
 |
| |
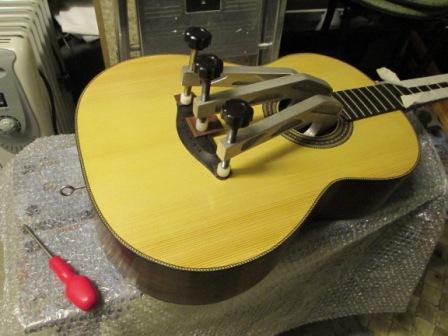
STEP 19:
Glueing the bridge More specialised clamps - lightweight aluminium ones with a long reach. |
|
 |
| |
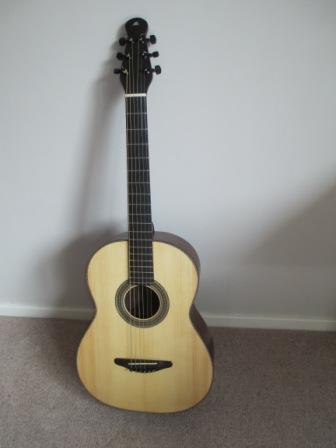
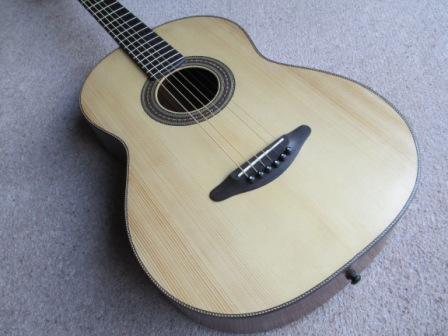
STEP 20,21,22:
The completed guitar It has had 3 or 4 coats of cellulose sanding sealer, and then polished with pumice powder and polishing oil and then guitar polish.
|